
Last updated October 16, 2026
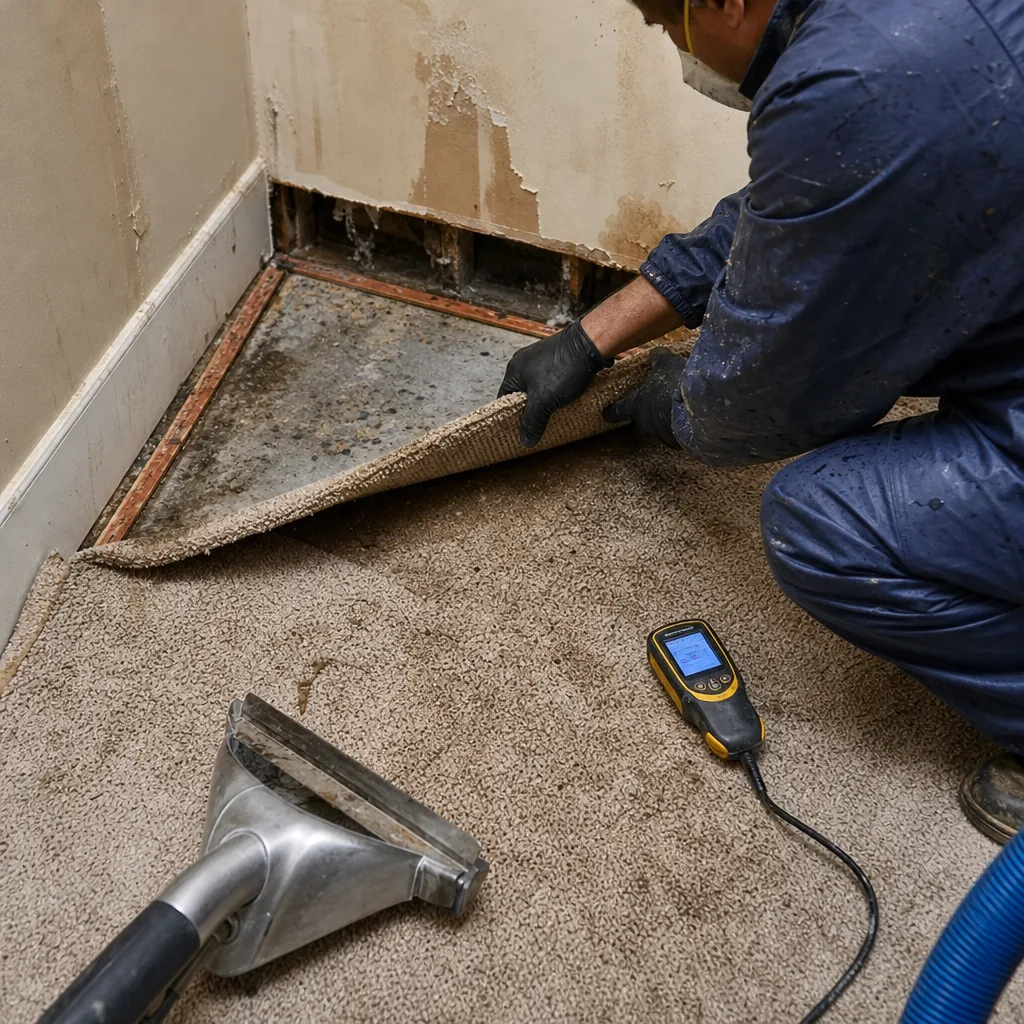
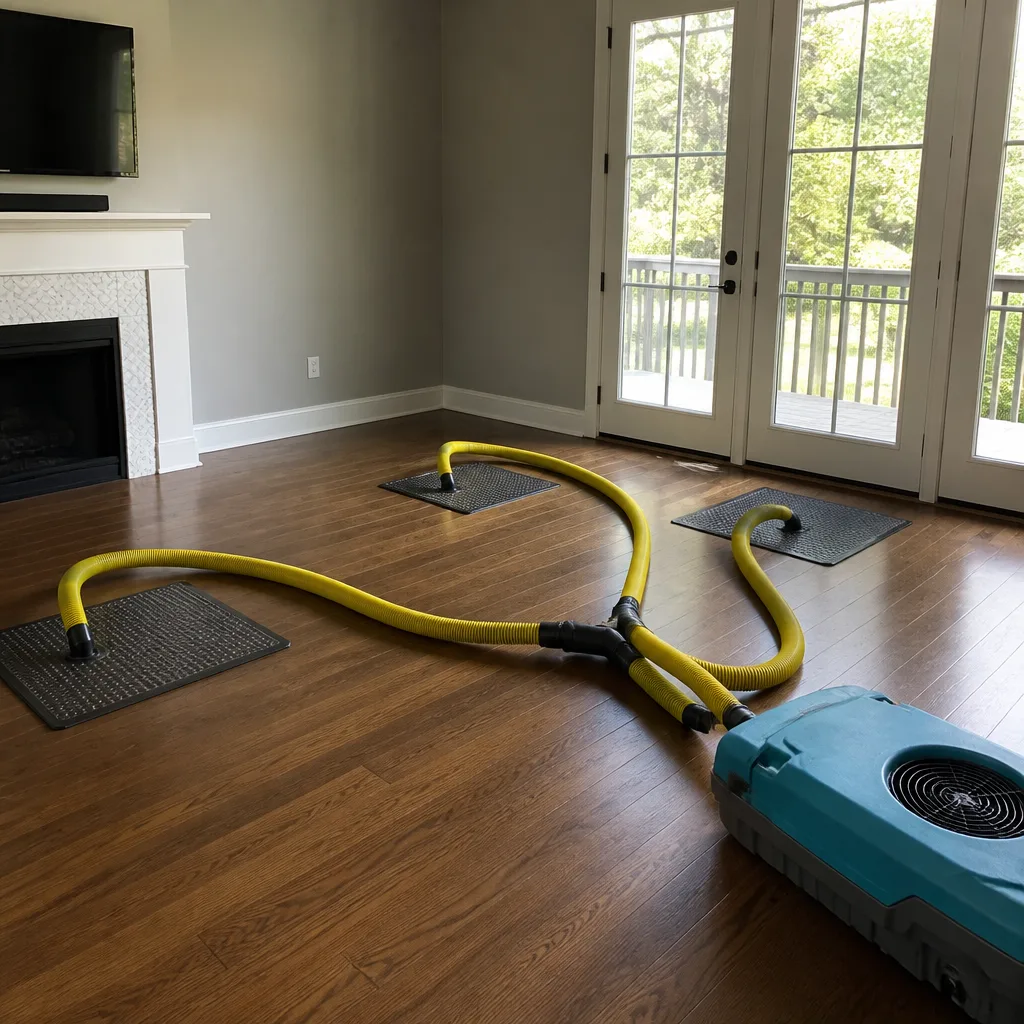 Water damage drying
 Fire & smoke cleanup
 Mold remediation
 Storm response
 Sewage cleanup
 Reconstruction
Free visual inspection and a written scope of work before any mitigation begins - photos, moisture readings, and drying logs go in your claim file
The scope we write is the scope we bill. Anything new gets shown to you, in writing, before we touch it.
Get your free estimateWater Damage Restoration Maintenance Checklist for Dallas Homeowners
The most expensive water damage call a Dallas technician takes is the second one to the same address. The first job fixed the visible symptom, but nobody looked six inches to the left where the real source sat, still dripping. This guide, part of The Complete Guide to Damage Restoration in Dallas, is built around the failure points that send local crews back to the same houses in Lakewood, Preston Hollow, and East Dallas. You’ll learn where water actually hides in a North Texas home, how to inspect those spots yourself, and what documentation your insurance carrier expects before they’ll write a check.
Quick Answer
A water damage prevention checklist for Dallas homeowners needs to address the city’s three most common indoor water sources: foundation-adjacent plumbing that shifts with expansive clay soil, HVAC condensate lines that clog in humid springs, and flat or low-slope roof penetrations damaged by hail. The core maintenance routine takes about two hours per season, and it centers on visual inspection, moisture meter baselines, and documented proof of repairs. Catching a slow plumbing leak or a clogged condensate line before it soaks drywall, baseboards, or subfloor is the difference between a $300 repair and a $7,000 restoration, as detailed in our Damage Restoration Cost Breakdown: The Dallas Homeowner’s Reference for 2026.
Restoration work we handle
Table of Contents
- Foundation-Adjacent Plumbing in Dallas’s Expansive Clay Soil
- HVAC Condensate Lines: The Most Under-Checked Water Source in Dallas
- Inspecting a Dallas Flat or Low-Slope Roof After Hail
- Recording Moisture Meter Baselines Before You Need Them
- Maintenance Items Your Dallas Homeowner’s Policy Requires You to Document
- A Season-Keyed Maintenance Schedule for Dallas Homes
- Common Mistakes to Avoid
- When to Call a Professional
- Frequently Asked Questions
Foundation-Adjacent Plumbing in Dallas’s Expansive Clay Soil
Dallas sits on some of the most reactive clay soil in the country. The Blackland Prairie clay that runs under most of the metro expands when wet and shrinks when dry, and that movement is not gentle. It’s a slow, seasonal push-and-pull against your foundation, your sewer lines, and the water supply pipes that run beneath the slab. The motion doesn’t have to be dramatic to cause damage. A sewer line that shifts a quarter of an inch at a joint becomes a slow leak. A copper supply line that flexes with the slab eventually work-hardens and cracks at the fitting.
Here’s where the water actually accumulates: in the soil under the slab, along the exterior foundation line, and in the gap between the foundation and the first course of brick. You won’t see a puddle. You’ll see a pattern of dampness, a persistent musty note in a hallway, or a section of flooring that has started to cup or buckle.
Walk this inspection route twice a year, once in early spring after the rainy season starts and once in late summer after the clay has dried and cracked:
- Walk the full perimeter of the house at ground level. Look for any spot where the soil has pulled away from the foundation edge. A gap wider than a half inch means the clay is actively shrinking, and that’s the window where pipes shift.
- Check the hose bibs and any exterior plumbing penetrations. Reach down and feel the soil directly under each hose bib. It should be dry. If it’s damp and the weather has been dry, the leak is likely on the supply side, inside the wall or just under the slab.
- Inspect the water meter. Turn off all water inside the house, note the meter reading, and wait 20 minutes. If the dial has moved, you have a leak somewhere between the meter and the house, or inside the house. A leak that shows at the meter when everything is off is not a running toilet. It’s a hidden line.
- Look for vertical cracks in the foundation that align with plumbing fixtures. A hairline crack above a kitchen sink or a bathroom group can indicate that the slab has moved and pinched a drain line. Not every crack means a plumbing failure, but cracks that grow between inspections are a signal to call a plumber before you call a restoration company.
- Monitor your water bill against the previous year, not the previous month. Dallas water usage swings seasonally. Compare the same billing period year over year. A 20% or greater jump with no change in household size or habits is a red flag. Call a professional to pressure-test the system.
In our experience, the houses that stay dry are the ones where the homeowner treats the foundation perimeter as a maintenance item, not a structural concern. A quick perimeter walk after a rain or a deep dry spell catches the shifts that turn into plumbing failures. And when the failure does happen, the first call should be to a company that understands both the plumbing and the drying. Keegan Restoration Dallas runs every water damage restoration job in Dallas to a written standard, and that standard starts with finding the actual source, not just the puddle.
HVAC Condensate Lines: The Most Under-Checked Water Source in Dallas
Dallas summers pull gallons of water out of the air in a single day. All of that moisture condenses on your evaporator coil and drains through a small PVC line, usually running from the attic air handler or an interior closet unit to the outside. The line is less than an inch in diameter. It handles more water than any other single drain line in your home, and it’s almost never maintained until it overflows.
A clogged condensate line doesn’t fail dramatically. It backs up slowly. The water finds the lowest point in the drain pan, drips over the edge, and soaks into whatever is below. In a Dallas attic, that means the ceiling joists, the insulation, and eventually the drywall of the room below. By the time you see a stain on the ceiling, the water has been working for weeks.
Here’s the step-by-step inspection routine we recommend every Dallas homeowner do at the start of cooling season, which in North Texas is really March or April:
- Locate your primary condensate drain line. This is the PVC pipe that exits the air handler or furnace cabinet. In Dallas attics, it typically runs across the floor of the attic above the insulation and exits through an exterior wall. In newer homes, it may tee into a bathroom sink drain.
- Check the drain pan under the unit. If there’s water standing in the pan, the drain is already partial or fully clogged. Don’t wait. Blow the line out or have an HVAC tech do it.
- Pour a cup of white vinegar down the line at the access tee. This is the single cheapest maintenance item in this guide. Vinegar breaks down the algae and scale that build up in the warm, wet PVC. Do it every 60 to 90 days during AC season. Mark it on your calendar.
- Inspect the exterior drain exit. Make sure water drips out when the AC runs. If the outside is dry while the unit runs, the water is going somewhere else.
- Check the emergency float switch. This is the little white fitting on the secondary drain port. If the switch is wet or the pan is full and the unit didn’t shut off, the switch is wired wrong or failed. A failed float switch means a full drain pan with no interruption. That’s how ceilings come down.
One more Dallas-specific point: during the hottest weeks of July and August, your condensate line works hardest, and the air in the attic is hottest. The combination accelerates algae growth inside the warm PVC. If you only do this maintenance once a year, do it in June, right before the peak heat. A condensate overflow that goes unnoticed can wet insulation for weeks, and wet insulation loses its R-value while feeding mold. If you catch it late, the repair stops being an HVAC call and becomes our Water Damage Restoration services call. That’s when you call a company that runs professional-grade drying equipment. At Keegan Restoration Dallas, we run Dri-Eaz and Phoenix air movers and dehumidifiers on these jobs, measured against IICRC standards, so the ceiling and joists come back dry, not just looking dry.
Inspecting a Dallas Flat or Low-Slope Roof After Hail
Dallas gets hail. Not every year, but often enough that roofers schedule around it. Flat and low-slope roofs on Dallas homes, townhomes, and the endless mid-century commercial conversions take hail differently than pitched shingle roofs. A shingle roof sheds hail impacts across hundreds of small overlapping surfaces. A flat roof absorbs the same impacts on a single membrane with seam laps, drains, and penetrations that are already working hard against ponding water.
Here’s the crucial point: inspecting a flat roof for hail damage in Dallas is not the same as inspecting a shingle roof. The damage is less visible, takes longer to show, and is often missed by the first roofer to walk the ridge. If you have a flat or low-slope roof, your maintenance checklist needs a post-hail inspection that goes beyond looking for punctures.
Follow these steps, in this order:
- Document the hail event first. Date, time, size of hailstones, and any photos of hail in your yard. Carriers require proof that a hail event occurred, and the date anchors your claim.
- Wait 48 to 72 hours after the storm. Hail bruising on a membrane does not appear immediately. The membrane flexes, then bruises underneath as the adhesive or substrate reacts. A roofer who says “no damage” one day after the storm may be wrong.
- Do not walk the membrane yourself if you can avoid it. Flat roof membranes, especially older TPO or modified bitumen, can be damaged by foot traffic. If you must inspect, go from the perimeter and use a drone or a camera on a pole rather than walking mid-field. Your warranty may also void if unapproved foot traffic is documented.
- Look for bruising, not just punctures. A hail bruise on a flat membrane looks like a soft, dimpled circle that’s slightly darker than the surrounding area. Press it gently with a gloved finger from the roof edge if you can reach. If it feels spongy or delaminated, that’s a hail strike.
- Check every penetration and seam first. Roof drains, plumbing vents, HVAC curbs, and seams are where hail damage leads to leaks. The impact cracks the membrane at the edge of the penetration, and water finds the path. This is also where the most expensive flat-roof leaks start.
- Photograph everything before you clean anything. Do not remove leaves, branches, or hail spatter before you document it. Your insurance adjuster will look for evidence that the damage is storm-related, not maintenance-related. Clean photos of the membrane, the debris, and the hail spatter taken before anyone touches the roof make the claim easier to process.
If you do find a leak after hail, the water coming through the ceiling has already traveled through the insulation and possibly the wall cavity. This is not a pan-and-patch job. A roof repair stops more water from coming in. A proper restoration dries out what already got wet. The two are separate scopes of work, and a reputable contractor will put both in writing separately. We’d also note: if the leak has been running for more than a day or has touched drywall and insulation, mold becomes a real concern. That’s where the mold remediation side of our Dallas work comes into play. Documentation matters just as much on the interior as it does on the roof.
Recording Moisture Meter Baselines Before You Need Them
Moisture meters measure the moisture content of building materials. A dry Sheetrock wall in a Dallas home typically reads between 6% and 12%. A wall that has absorbed water reads 15% or higher, and the number rises fast once the leak is active. But here’s the problem: when a technician arrives after a leak, they measure the wet wall without knowing exactly how dry that same wall was before the leak. They compare the number to a general standard, not to your specific home.
Recording your own baseline readings gives you a reference point. It takes 15 minutes, and it’s the single most useful piece of documentation you can create before a water event. When a technician arrives with a professional moisture meter from a brand like XPOWER or B-Air, your baseline lets them see exactly how far above normal the damaged area reads. That speeds up the drying plan and the insurance documentation, because the comparison is real, not estimated.
Here’s what to do:
- Buy a basic pin-type moisture meter. A serviceable unit costs between $25 and $60 at any hardware store. You don’t need a professional-grade meter. You need repeatable readings for comparison.
- Pick four to six reference points. Choose interior walls in high-risk locations: the wall behind the kitchen sink, the wall behind the primary bathroom toilet, a wall in the laundry room, the ceiling under the attic air handler, and the baseboard area outside the water heater closet. Mark each point with a small pencil dot.
- Record the reading at each point, at the same time of day, once per month. A simple written log works fine. Date, location, reading. Here’s a sample: “March 15, 2026 – Hall bath wall behind toilet – 8%. Laundry room baseboard – 9%. Attic access ceiling – 10%.”
- Note the outside weather when you record. After a heavy rain or a humid week, readings can legitimately creep up a point or two. That’s normal. A jump of five points or more from your baseline, not from your mood, is a problem.
- Keep the log with your home maintenance records. Same folder as your water heater receipt and your AC service records. If you ever need to make an insurance claim, the baseline log demonstrates ongoing maintenance, which adjusters weigh when assessing coverage.
If a reading spikes and you can’t find a visible source, call a professional before the wood and drywall start to show damage. A company that sends a technician with a professional-grade meter, not just a visual inspection, is the one you want. When we send a crew from Keegan Restoration Dallas to a water damage job, we document every reading, every step, and every decision. That documentation is formatted to support your insurance claim, not to muddy it.
Maintenance Items Your Dallas Homeowner’s Policy Requires You to Document
Most Dallas homeowners never read their policy’s maintenance obligations until after they file a claim. The standard policy language in Texas, across nearly every carrier, contains language about the homeowner’s duty to maintain the property and prevent continuing damage. After a water claim, an adjuster will look for evidence that you did exactly that. If the water damage happened because of a known, unresolved problem, the claim can be denied or reduced.
Here are the documentation items we tell every Dallas homeowner to keep, based on years of working insurance restoration jobs in this market:
- HVAC service records. An annual AC and heat inspection, with a written invoice, proves the condensate system was maintained. A clogged drain pan that overflows and soaks the ceiling inside an unmaintained unit is a preventable loss. Carriers look hard at these.
- Plumbing repair invoices. Any time a plumber touches a supply line, a drain, a water heater, or a fixture, keep the invoice. This shows a history of active maintenance. It also helps you reconstruct when a specific failure likely began.
- Roof inspection reports after hail or severe wind events. If a roofer gives you a written “no damage” or “minor damage” report, file it. If a leak develops later, that report anchors the timeline and becomes evidence that you responded to the event rather than ignoring it.
- Photos of recurring problem areas. Take a photo of the same water-prone spots every six months, like the ceiling under the upstairs bath, the area around the water heater, and the exterior walls near hose bibs. Timestamped photos create a visual maintenance record.
- Your moisture meter log. Covered in the previous section. This is the cleanest evidence of active monitoring that a homeowner can provide.
- Water heater replacement records. A failed water heater that floods a Dallas garage or hallway is one of the most common claims we see. The carrier will want to know the age of the unit and whether it was maintained. Have the receipt and the installation date.
If you do have water damage and the adjuster asks what you did to prevent it, show them these records. The claim moves faster and with less friction. And when the restoration starts, the documentation the restoration company produces becomes part of the same file. Keegan Restoration Dallas documents every job to The Garrison Standard: written price before work starts, photo documentation throughout, and a written scope of the loss. We also handle direct insurance billing on restoration work so the rebuild side of the claim doesn’t stall. If the Keegan Restoration Dallas home team is on the job, the paperwork matches the work.
A Season-Keyed Maintenance Schedule for Dallas Homes
Dallas doesn’t have four seasons. It has two short mild seasons and two long brutal ones. Your water damage prevention routine should shift with the actual weather, not a generic national calendar. Here’s a checklist organized by when the work actually needs to happen in North Texas.
Spring: March through May
- Full exterior perimeter walk. Check hose bibs, foundation gaps, and any exterior pipe penetrations. This is when the clay starts shifting after winter rains.
- AC start-up and condensate drain clean. Pour vinegar down the line, check the drain pan, and make sure the float switch trips when wet. This is the single most important spring task.
- Roof and gutter check after spring hail season. Dallas hail season runs roughly March through May. Inspect after the first hail event, not after the first leak.
- Basement and crawl space check. Dallas homes don’t often have basements, but pier-and-beam is common in older East Dallas and Oak Cliff neighborhoods. Check the crawl space soil for standing water and the piers for moisture stains.
Summer: June through September
- Monthly condensate line vinegar treatment. This is peak load for the system. Every 30 to 45 days, not just every 60.
- Weekly check of water bill usage against baseline. Summer irrigation masks leaks. Compare indoor usage separately if your meter or bill allows it.
- Inspect all ceiling areas under the attic. The heat drives moisture into attics from condensing units, vent fans, and any small roof leak that opens under the sun. Look for new stains or discoloration.
- Check the water heater monthly. A tank water heater in a hot Dallas garage is under extra stress. Look at the area around the base for any sign of rust, seepage, or mineral scale.
Fall: October through November
- Second full exterior perimeter walk of the year. The clay should be drying and cracking. Those cracks are where pipes shift. Note any new cracks in the foundation and nearby plumbing.
- Pre-winter roof check. Even if there was no hail, inspect flat and low-slope roofs for blisters, seams opening, and any debris accumulation around drains.
- Flush the water heater. Sediment builds up, especially in Dallas’s hard water. Not flushing the tank shortens its life. A tank that fails catastrophically is a restoration job, not just an appliance replacement.
- Check all caulk and sealant around windows, tubs, and exterior penetrations. The movement of the house through the clay cycle breaks sealant joints. Re-caulking is cheap insurance.
Winter: December through February
- Insulate any exposed pipes in the attic or exterior walls. Dallas freezes can be sudden and deep. Exposed copper in a vented attic freezes fast. This is not just about comfort. A frozen and split pipe floods the house when it thaws.
- Drip exterior faucets when the forecast hits 28 degrees or lower. The cost of the water is nothing compared to the cost of a split supply line.
- Check under sinks and behind toilets once a month. Cold weather drives shifting in the slab. Joints under sinks fail first. A small drip under a sink can run for weeks before you notice the cabinet base swelling.
- Verify the attic insulation is dry and in place. Check for condensation on the underside of the roof deck. A warm attic in winter with high indoor humidity causes attic rain, which soaks insulation.
This is a maintenance rhythm, not a project. Most of these checks take ten minutes. The point is consistency. A homeowner who runs these checks catches a $0.50 washer failure before it becomes a $12,000 restoration. A homeowner who skips them becomes our second call to the same address.
Common Mistakes to Avoid
- Treating the first water stain as the whole problem. Water travels along joists, down studs, and through insulation before it shows on the surface. The stain you see is the exit, not the entry. Fixing the exit without finding the entry means the same problem returns, and it’s usually bigger the second time.
- Relying on a home inspector from before you bought the house. That report is a snapshot, not a maintenance plan. Dallas soil movement, hail, and heat change a house’s water profile every season. An inspection from two years ago is useful as a reference, not a guarantee.
- Drying a wet area with only fans and open windows. A fan moves air. It does not pull water out of drywall, subfloor, or framing. Without proper extraction and dehumidification to a measured standard, you’ll get a surface that looks dry and a wall cavity that’s actively growing mold. That’s a false dry. A professional restoration company uses equipment like Injectidry systems for wall cavities and floors, run to IICRC drying standards, not a box fan from the garage.
- Not documenting every repair call. When an adjuster asks for maintenance history and you hand them a shoebox of faded receipts, the claim bogs down. Keep a simple file, digital or paper, with every service invoice and every photo. The documentation is the difference between a smooth claim and a dispute.
- Ignoring a water bill spike because “it’s summer.” A jump in July might be irrigation. A jump in January, when nothing outside is being watered, is not. Compare year over year, not month to month.
- Walking your flat roof to inspect it after hail. A membrane that’s already bruised from hail can be punctured by a single misplaced footstep. If you have to inspect, go from the perimeter or hire someone with the right equipment. Your warranty and your deductible will both thank you.
- Waiting to call after a leak because “it’s not that bad.” A slow leak behind a bathroom wall in Dallas can wet the same stud cavity for weeks. The water spreads. The drywall wicks. The subfloor absorbs. By the time you see it, the restoration scope has quadrupled. Speed on mitigation is not an upsell. It’s the cheapest insurance you’ll ever buy.
When to Call a Professional
Some water problems are maintenance. Others are restoration. Here’s the line: if water has touched drywall, insulation, subfloor, or any porous building material, you’re not doing maintenance anymore. You’re managing a loss. Call a professional when you see water coming through a ceiling, when a wall feels soft or damp, when the water meter moves with all fixtures off, or when you smell mustiness that won’t go away. Don’t cut into drywall to “take a look.” That releases whatever mold or dirty water is inside and spreads it. Don’t run a dehumidifier from the rental center and assume the problem is solved. A professional restoration company measures moisture content, maps the wet area, and dries to a written standard. Keegan Restoration Dallas offers free estimates in Dallas. Call (254) 857-5210, and a live person answers. That call is the start of a documented restoration, not a sales pitch.
Frequently Asked Questions
Twice a year for the full perimeter and roof inspection, monthly for the moisture meter baseline readings, and every 30 to 45 days for the HVAC condensate line during AC season. The spring and fall perimeter walks catch the foundation and plumbing issues that Dallas’s expansive clay soil causes, while the monthly checks catch the slow leaks that would otherwise run unnoticed.
Dallas homes deal with three water risks that don’t show up the same way elsewhere: expansive clay soil that shifts and cracks foundation-adjacent plumbing, HVAC condensate lines that clog and overflow in the humid spring and scorching summer, and flat or low-slope roofs that take hail damage differently than pitched shingle roofs. A Dallas-specific maintenance plan addresses all three.
A homeowner can inspect from the perimeter or with a drone, but should not walk the membrane. Foot traffic on a hail-bruised flat roof can punch through a membrane that would otherwise hold. If you’re not comfortable with perimeter and edge inspection, call a roofer who works flat and low-slope systems. Document everything with photos before anyone cleans or repairs anything, because insurance carriers use that timeline.
It gives you a real “before” number. When a technician measures a wet wall after a leak, the reading is only useful if it can be compared to a known dry reading from the same wall. A baseline log turns a subjective assessment into a measured comparison, which speeds up drying decisions and strengthens your insurance documentation.
Yes, in nearly every case. Texas carriers and their adjusters look for evidence of ongoing maintenance, particularly for HVAC systems, water heaters, plumbing repairs, and roof inspections. A consistent file of invoices, photos, and your moisture meter log is the best defense against a claim reduction or denial. If the water damage is tied to a known, unaddressed problem, the claim is much harder to push through.
The HVAC condensate line, without question. It handles more water than any other drain in the house, sits in the hottest and most humid part of the home, and is almost never touched until it overflows. A $3 bottle of vinegar poured through the line four or five times a year prevents most attic overflow losses. Mark it on your calendar, because no one remembers otherwise.
The Bottom Line
Water damage prevention in Dallas is not about buying the biggest dehumidifier or checking the obvious pipes. It’s about knowing the specific places where North Texas homes fail: the foundation line, the condensate drain, the flat roof after hail, and the hidden wall cavities that hold moisture long after the surface looks dry. Run the seasonal checks. Keep the documentation. Record the baselines. For more guides & resources, visit our blog. And when water shows up where it shouldn’t, move fast. The longer water sits, the more it costs, and the harder the insurance claim becomes. Call (254) 857-5210 for a free estimate, and a live person will answer. We put the price in writing before any work starts, and we stand behind every repair for a full year.
Written by Shane Pruitt, Owner at Keegan Restoration Dallas, serving Dallas since 2005.
See the difference
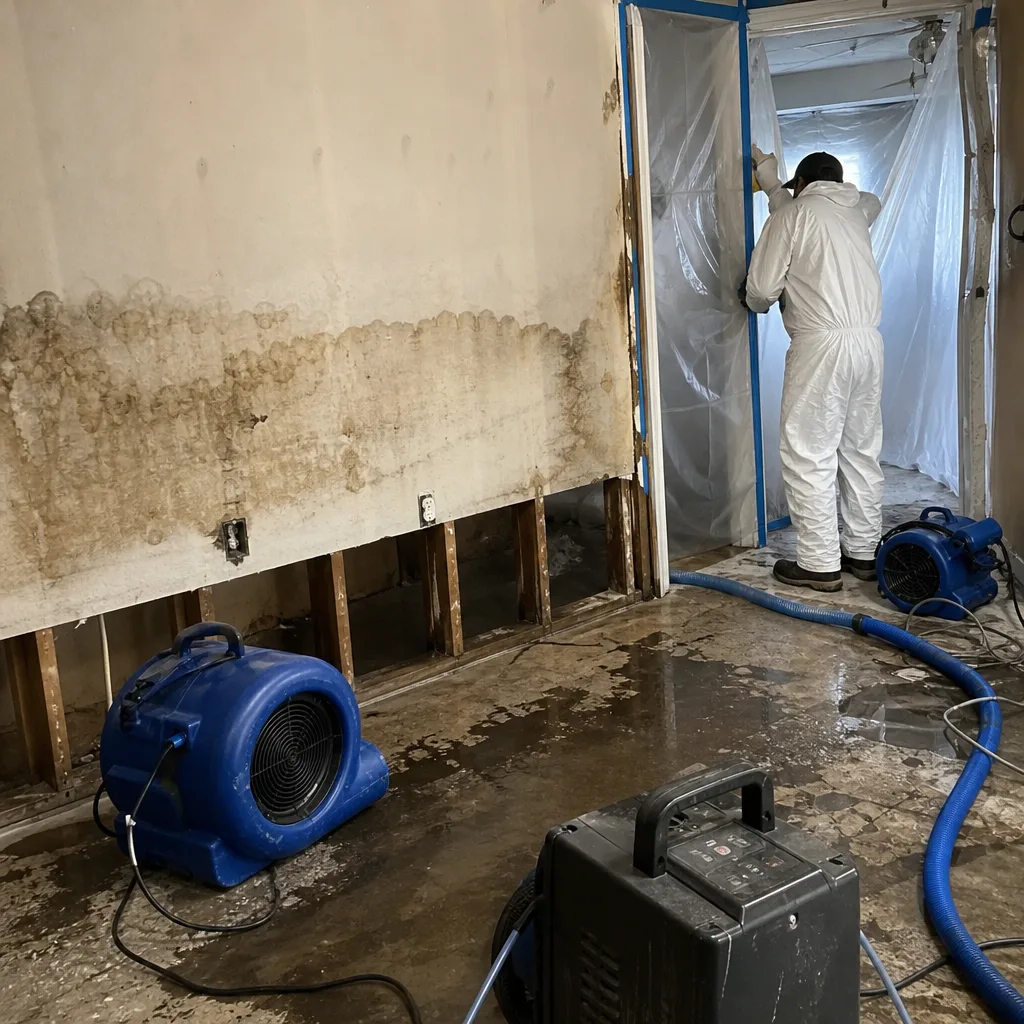 Before
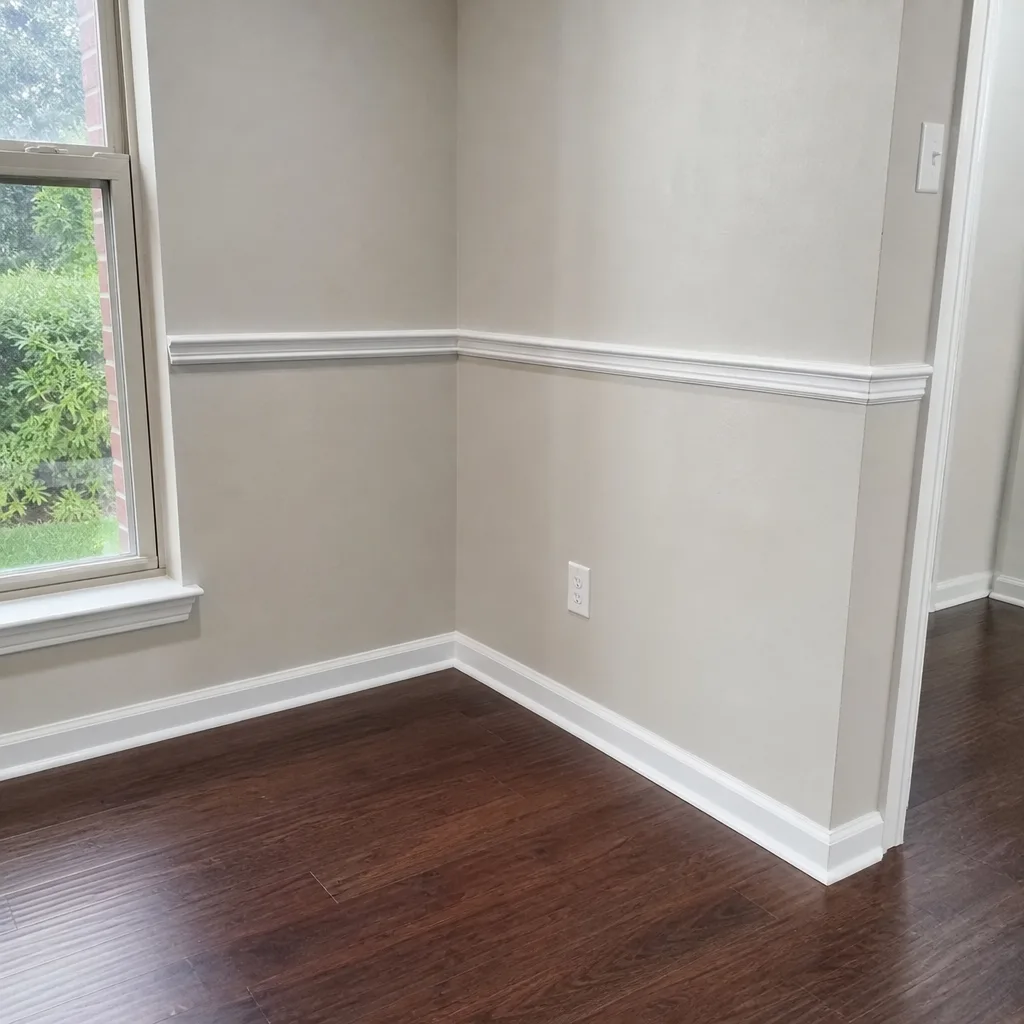 After
After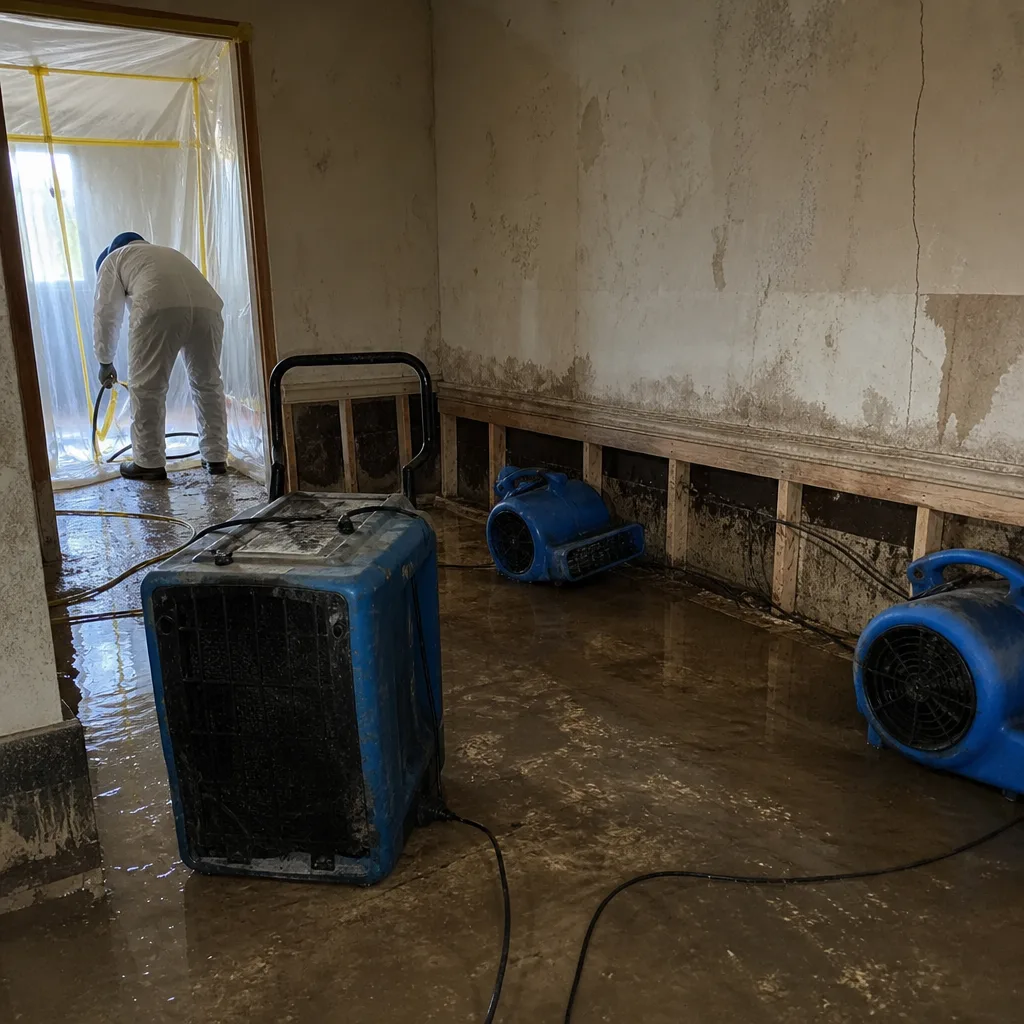 Before
 After
After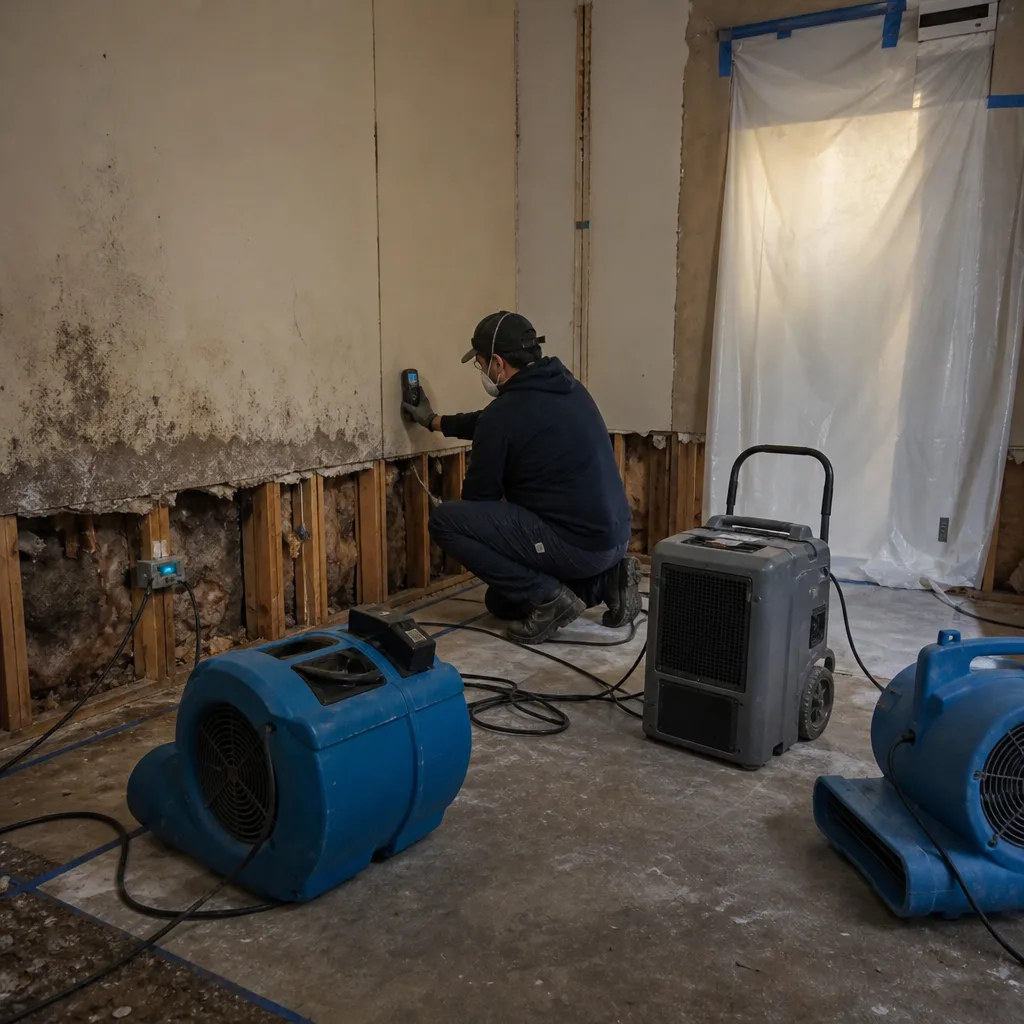 Before
 After
After